































Crochet 101: How to Weave in Ends So They Actually Stay Hidden
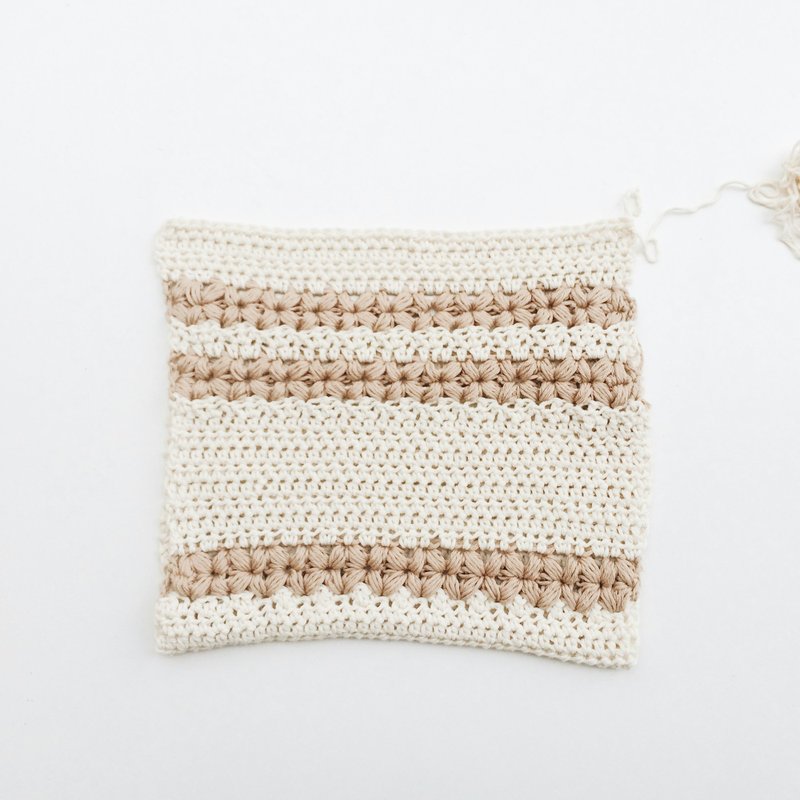
Every crocheter knows the feeling. You finish the very last stitch, lay your project on your lap, and think, "I'm done." Then you notice the tails, and it's time to weave in ends.
A blanket might have dozens of them. A granny square project can have even more, and a striped scarf seems to multiply yarn ends every time you change colour. Suddenly, the exciting part of finishing a crochet project turns into the least enjoyable task of all.
Many crocheters admit they put off weaving in ends for days, weeks, or even months, and some projects end up sitting in a basket indefinitely simply because the finishing work feels tedious. Even so, learning how to weave in ends properly is one of the most valuable crochet skills you can build. It means your hard work lasts for years: hidden yarn tails stop your stitches coming undone, keep your projects looking neat, and give handmade pieces a polished finish that rivals anything shop-bought.
Here's the good news: weaving in ends doesn't have to be a headache. Once you understand why yarn tails sometimes work their way loose, and pick up a few simple techniques, your crochet projects will look neater and stay put, even after plenty of use and trips through the wash.
Why Weaving In Ends Matters
New crocheters usually focus on stitches, tension, and reading patterns, so finishing techniques often get very little attention. That's understandable; finishing feels less exciting than making beautiful stitches. However, experienced crocheters know the finishing touches often decide whether a project lasts for decades or starts falling apart after only a few washes.
Learning how to weave in ends serves several purposes. First, it locks your stitches into place, since every yarn tail acts like an anchor that keeps your work from unravelling. Second, it improves the appearance of your crochet, because loose tails sticking out can distract from beautiful stitch patterns and colourwork. Third, hidden ends make projects more comfortable to wear or use; blankets, garments, hats and scarves all feel smoother when tails are tucked away properly. Finally, careful finishing shows pride in your craftsmanship, and a neatly finished project reflects the same care you put into every stitch.
Why Yarn Tails Sometimes Come Back Out
Many crocheters feel frustrated after spending time weaving in ends, only to find them peeking out again after washing or regular use. Understanding why this happens makes it much easier to avoid.
One common reason is that the tail wasn't woven through enough stitches. Another is weaving in only one direction; yarn naturally stretches and moves during use, and a tail following just one path can slowly work itself loose over time. Smooth fibres also tend to slip more easily than fuzzy ones. Yarns worth extra attention include:
- Cotton
- Bamboo
- Silk blends
- Superwash wool
These have less natural grip, so they need more thorough weaving. By comparison, rustic wool, alpaca, and slightly fuzzy yarns tend to hold woven ends more securely, because their fibres cling to each other. Understanding how your yarn behaves is an important part of learning to weave in ends successfully.
Tools You Need to Weave in Ends
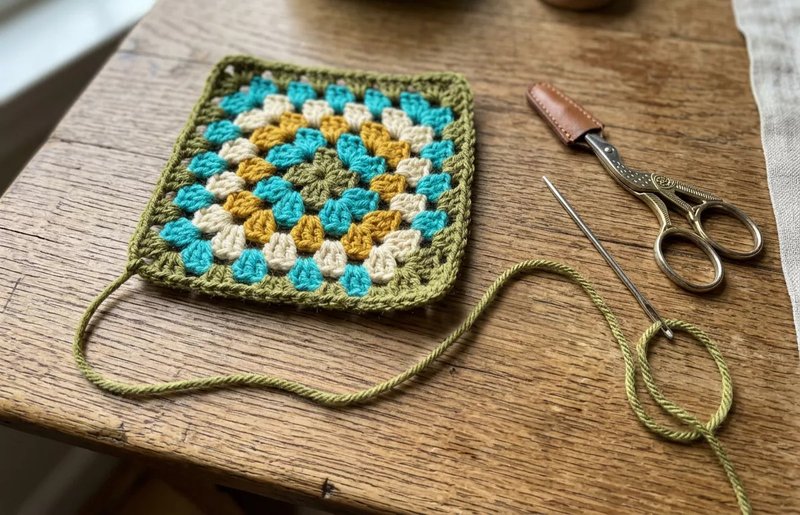
Fortunately, you don't need expensive tools. Keep these basics nearby whenever you finish a crochet project:
- Blunt tapestry needle
- Sharp embroidery scissors
- Good lighting
- A clean, flat workspace
Many crocheters prefer blunt tapestry needles because they slide between stitches without splitting the yarn. Having a few needle sizes on hand helps too: thick yarns need a larger eye, while fine lace-weight yarns are easier to manage with a smaller needle.
Leave Yourself Enough Yarn
One of the biggest beginner mistakes happens long before the weaving begins. Cutting the yarn too short makes securing the tail much harder, so aim for a tail around 10 to 15 centimetres long (4 to 6 inches). For bulkier yarns or larger seamed projects, a slightly longer tail gives you more to work with. Longer tails are much easier to thread through a needle, travel through multiple stitches, and lock into place securely.
If you do end up with a tail only a few centimetres long, resist the temptation to tie a knot to compensate. Knots create bulky spots and often work loose over time anyway.
Skip the Knots
Many beginners assume knots provide extra security, but knots are usually unnecessary in crochet and can even cause problems. They add bulk, and they can become visible through lighter fabrics. Some loosen over time, while others create uncomfortable bumps in garments and blankets.
Instead of knots, experienced crocheters use weaving techniques that lock the yarn within the structure of the stitches themselves. This approach creates cleaner, stronger and more professional results.
Follow the Path of the Stitches
One of the simplest ways to hide yarn ends is to make the tail travel naturally through the existing stitches, rather than weaving randomly across the fabric. Follow the direction your crochet stitches already take, and the woven tail will blend into the surrounding structure, making it almost invisible from the front.
This technique works especially well for:
- Single crochet
- Half double crochet
- Double crochet
- Moss stitch
- Linen stitch
Learning to "read" your stitches becomes a real advantage once you're weaving in ends regularly.
Change Direction More than Once
Perhaps the most important tip for learning to weave in ends is to change direction. Instead of weaving straight across and trimming the tail, try this instead:
- Weave forward through several stitches.
- Turn around and weave back through nearby stitches.
- Change direction once more.
Each change in direction adds friction and stops the yarn gradually slipping free. Many experienced crocheters use this forward-backward-forward method because it holds securely without adding bulk.
Match How You Weave in Ends to Your Yarn
Not all yarn behaves the same way. Smooth cotton often needs a longer weaving path because its fibres slide easily, and superwash wool benefits from the same treatment, since the superwash process strips away much of the fibre's natural grip. Fuzzy yarns like alpaca or rustic wool tend to hold securely with fewer passes, because their fine fibres cling together on their own. Novelty yarns sometimes call for a bit of creative problem-solving depending on their texture.
Learning how to weave in ends really means adapting your method to the fibre in front of you, rather than following the same routine every time.
Colour Changes Need Extra Attention
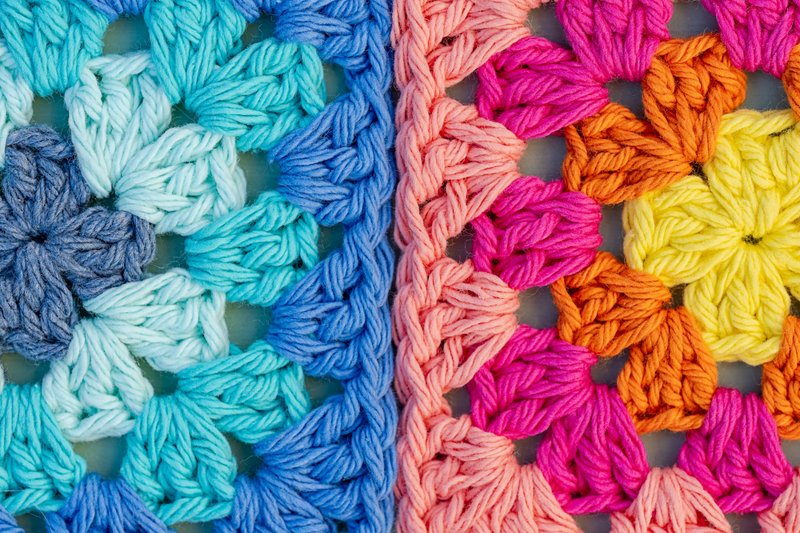
Projects with stripes, granny squares, tapestry crochet or mosaic crochet often carry many yarn tails, and each colour should stay hidden within stitches of the same colour wherever possible. Imagine weaving a black tail through white stitches: even secure weaving can let the darker yarn show through the lighter fabric. Keeping each tail in its matching colour preserves crisp colour transitions and keeps the finish nearly invisible.
Different Crochet Stitches Require Different Approaches
Dense fabrics naturally hide yarn tails better than open lace. Single crochet offers plenty of places to bury yarn, while open shell stitches need more careful planning, since the gaps between stitches make tails easier to spot. Lace crochet often benefits from longer weaving paths that follow the decorative stitch lines. Textured stitches such as bobbles, cables and puff stitches provide excellent hiding places, because their raised surfaces conceal small variations.
Understanding your stitch pattern is another key part of learning how to weave in ends effectively.
Should You Weave Before Blocking?
This is a matter of debate among crocheters, and it will likely come down to personal preference.
Some prefer weaving in ends before blocking, particularly when a tail sits in the middle of a row rather than at an edge or seam. Weaving it in early helps it settle into the fabric, and blocking then smooths the stitches around it, making the tail even less noticeable.
Others prefer blocking first. Wet blocking can reveal fit issues, such as a fibre that grows or shrinks more than expected, and any resulting repairs are much easier without woven-in ends to unpick. If your project will be seamed, it's also worth waiting: many crocheters like to weave their tails directly into the seam once pieces are joined and blocked, since this hides bulk and avoids weaving twice.
If you do weave before blocking, it's worth inspecting your project again afterwards. Occasionally a small section of yarn works its way visible, and it can easily be tucked back in with a tapestry needle or darning needle.
Test Before Trimming
One mistake nearly every crocheter makes at least once is trimming too soon. Before cutting the yarn close to the fabric, gently tug the surrounding stitches and move the fabric in different directions. If the tail starts to slide out, weave it through a few more stitches before trimming. Taking thirty extra seconds here can save hours of repair work later.
Washing Helps Everything Settle
Freshly woven tails sometimes feel slightly firm compared to the surrounding stitches, and that's perfectly normal. After washing and drying according to the yarn manufacturer's care instructions, the fibres usually relax and settle into the fabric, and the woven sections become even less noticeable. For a refresher on blocking your crochet items, read our free guide on 'How to Block Knitting and Crochet Projects for a Professional Finish'.
Common Mistakes to Avoid When You Weave in Ends
Learning how to weave in ends becomes much easier once you recognise the common pitfalls. Avoid these:
- Cutting yarn tails too short
- Weaving in only one direction
- Trimming before checking the tail is secure
- Weaving a contrasting colour through lighter stitches
- Splitting the yarn repeatedly with the needle
- Relying on knots
Small adjustments in technique often make a dramatic difference to how securely your yarn tails stay hidden.
Special Tips to Weave in Ends on Granny Squares
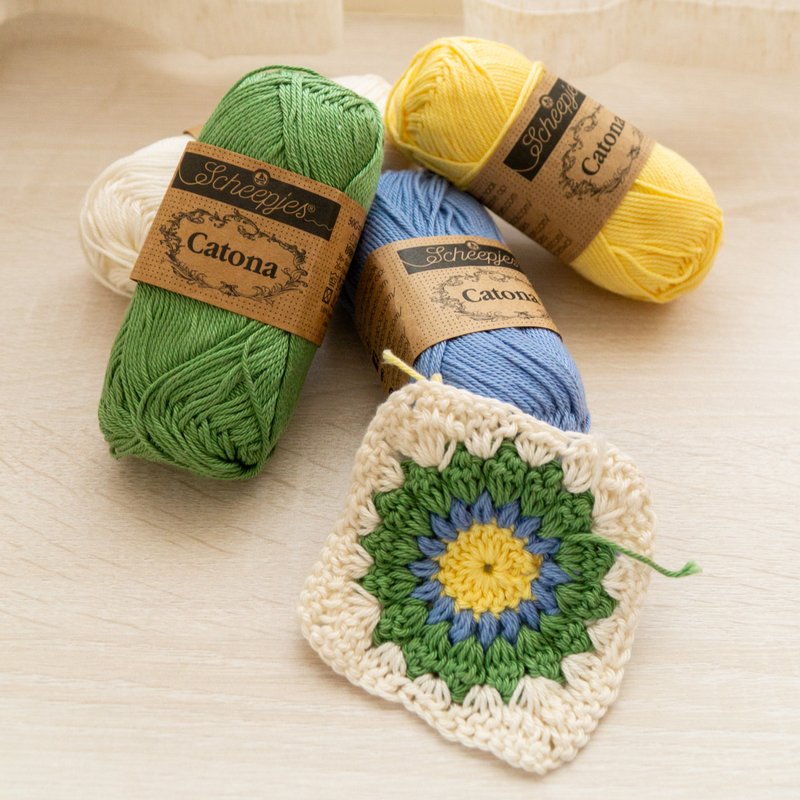
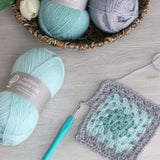
Granny squares often create the most yarn tails, since each motif may include several colour changes. Many crocheters weave in each colour immediately after finishing that round. It interrupts the flow of crocheting, but it prevents an overwhelming pile of loose ends later, and joining motifs afterwards becomes easier too, because fewer tails are competing for space around the edges. If you're making a blanket from dozens of granny squares, this habit alone can save many hours of finishing work.
Garments Deserve Extra Care
Sweaters, cardigans, socks and other wearable pieces experience far more movement than decorative items. Sleeves stretch, necklines flex, and cuffs rub against hands, so these high-movement areas benefit from especially secure weaving. Spend extra time on the seams, underarms, shoulders and cuffs, since these areas take the most repeated stress during everyday wear.
Invisible Finishing Creates Professional Results
Have you ever picked up a handmade crochet item and wondered why it looked so polished? The answer often has very little to do with fancy stitches. Professional-looking crochet usually comes down to careful finishing:
- Invisible joins
- Straight borders
- Consistent tension
- Secure yarn tails
- Washing and blocking
Each finishing skill builds on the others, and mastering how to weave in ends may seem like a small detail, but it contributes enormously to the overall quality of your work. People may never notice your woven tails, and that's exactly the point.
Build Good Habits from the Beginning
Some of the best advice experienced crocheters share is to avoid leaving all the finishing until the very end. Instead, weave in tails as you complete sections of your project: finish each granny square before starting the next, secure colour changes after each stripe, and complete one motif before beginning another. Breaking the work into smaller tasks makes finishing feel far more manageable, and it also reduces the chance of losing track of where each tail belongs.
Practice Makes the Process Faster
The first few times you practise weaving in ends, it may feel slow, and that's completely normal. Soon your hands begin to recognise stitch paths almost automatically. You'll develop an instinct for where yarn hides best, learn which fibres need longer weaving paths, and gain confidence in judging how securely a tail has been anchored. Eventually, weaving in ends becomes just another relaxing part of the process, rather than something to avoid.
Ready to Create Projects That Last?
Every beautiful crochet project deserves a beautiful finish. Learning how to weave in ends isn't simply about hiding loose yarn; it's about protecting the hours of creativity, patience and care you've put into every stitch. It's what helps a favourite blanket stay cosy through years of family use, keeps a cardigan looking sharp after countless washes, and makes sure a handmade gift stays whole for decades.
As you build your crochet skills, give the finishing stage the same attention you give every row and every stitch. With practice, it will become second nature, and your projects will look more polished and hold up for the long run. If you're starting your next crochet project, choosing quality yarns, crochet hooks, good tapestry needles, and other finishing tools from the outset makes the whole process more enjoyable, right through to that last hidden tail.
Share this article on your favorite platform:
