From Skein to Stash: How to Store and Label Your Hand-dyed Yarns Without Losing Track
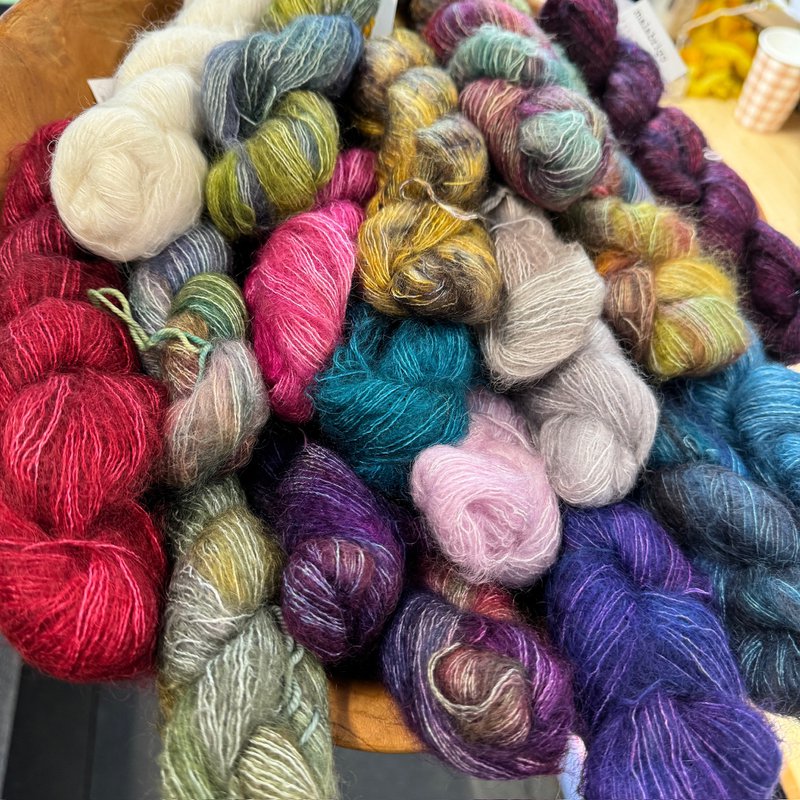
Hand-dyed yarn holds a special magic. When you open that package and untwist the skein, you’re greeted by joyful colours. Speckles scatter across the yarn like confetti, and the tones shift and change in the light. Some shades seem almost alive.
You tell yourself you’ll remember what it is, where it came from, and what you wanted to make.
But then life gets in the way.
Months later, you’re standing in front of your stash, holding a mystery skein and asking the age-old questions: “Did I buy one of these or three?”, “What weight is this?” or worse, “What fibre is this?”
If this sounds familiar, you’re in good company. Many knitters and crocheters find themselves in the same moment, especially when working with hand-dyed yarn. A few thoughtful habits around storage and labelling can make all the difference, helping you feel more confident and more connected to the yarn you love.
In this post, we’ll share practical ways to transition hand-dyed yarns from skein to stash, keeping both joy and order intact.
Why Hand-dyed Yarn Needs a Little Extra Care
Hand-dyed yarn is more than just yarn. It’s made in small batches, often unique, and sometimes impossible to replace. Dye lots can vary widely, and some colourways are only available for a short time. Even two skeins with the same label can behave differently once you start knitting or weaving them.
Because of this, good storage is not just about being tidy. It’s about caring for your yarn and making things easier for your future self.
Proper storage and labelling help you:
• keep matching skeins together
• remember fibre content, weight, and meterage
• track dye lots and colourways
• protect yarn from light, pests, and humidity
• make project planning far less stressful
No matter which method you choose, think of it as building a system that works for you. The right setup should support your creativity, not get in the way.
Step One: Decide How You Like to See Your Yarn
Before labels and spreadsheets, there’s one foundational, and perhaps the most fun, question to answer: How would you like to display your yarn? Do you like your yarn visible or hidden?
Some of us are visual creatures. Seeing colour sparks ideas and invites creativity. Others prefer calm, closed storage that feels restful and uncluttered. There’s no right or wrong choice here. What matters is choosing a system that fits your creative habits, since the next steps build on this foundation.
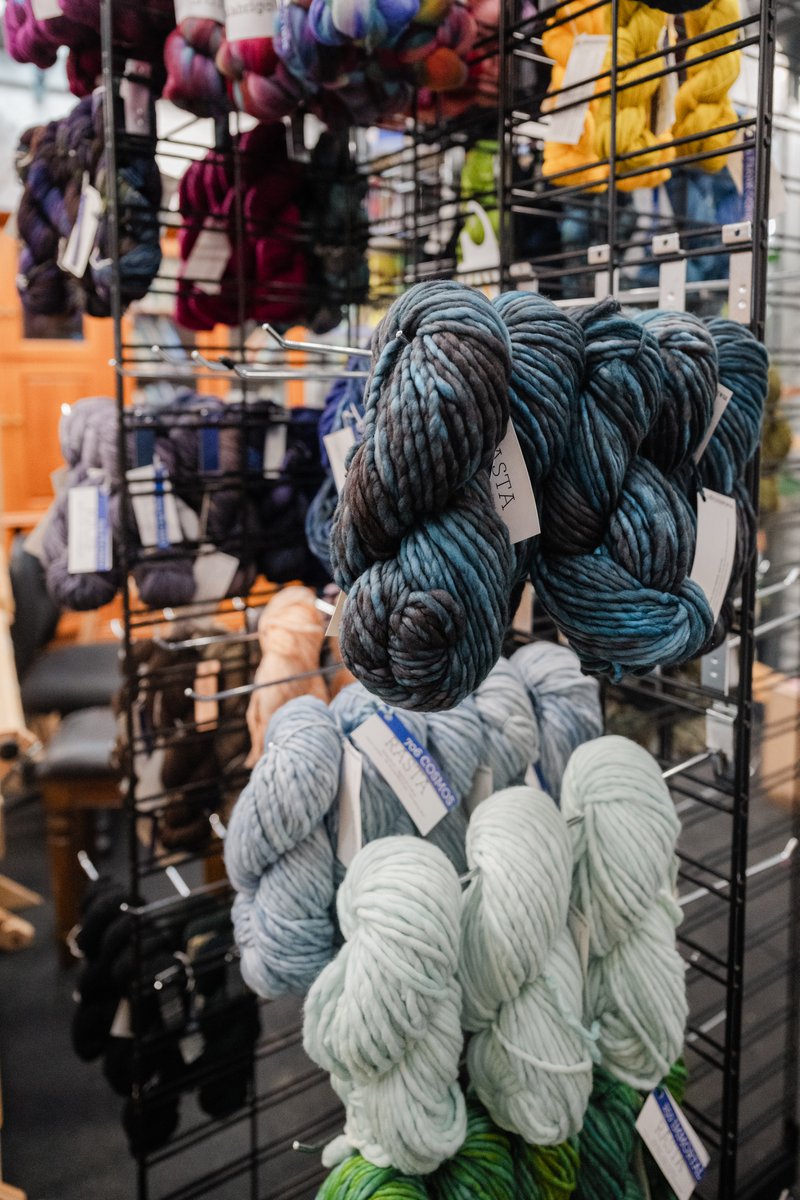
Visible Storage
- Open shelves
- Glass-front cabinets
- Peg boards or hanging skeins (away from sunlight)
Pros: inspiring, easy to browse, and beautiful
Cons: requires protection from light, pests and dust
Closed Storage
- Drawers
- Lidded boxes
- Glass jars (stored away from direct sunlight)
- Project bags inside cupboards
Pros: protects yarn and creates a visually calming space
Cons: yarn is easier to forget if it’s out of sight
Many makers find a happy middle ground. Special or current yarns stay on display, while long-term stash is safely tucked away until it’s ready to be used.
Step Two: The Golden Rule – Never Separate Yarn From Its Identity

Here’s where most of us slip up. You take the label off “just for now.” You’ll remember it.
You probably will not.
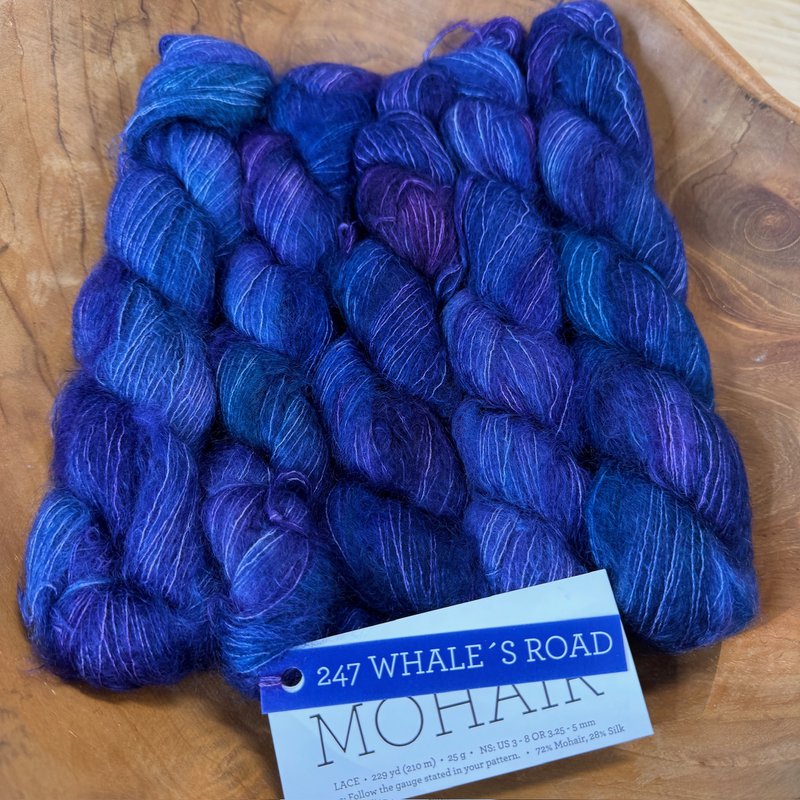
With hand-dyed yarn, especially, the label is gold. It carries the yarn’s full story: who dyed it, what fibres it contains, how much yardage or meterage you have, and its weight. Without that information, even the most beautiful skein quickly becomes a mystery.
Before we look at storage solutions, it’s worth talking about how to keep that information with your yarn, even after the label comes off.
What to Keep With Every Skein
At a minimum, if you choose to replace the original label with your own, you’ll want to retain the following information:
- Yarn brand or dyer
- Fibre content
- Yarn weight
- Meterage or yardage
- Colourway name
- Dye lot, if applicable
- Care instructions
Practical Ways to Keep Labels With Yarn
If you’d like to keep using the original label, there are a few simple options:
- Reattach the label. Depending on the label design, you can retape it or tie it on with a piece of string
- Store the yarn and label together in a clear zip bag
- Photograph the label and save it digitally, especially if the original label is bulky or fragile. Your future self will thank you.
Step Three: Add Your Own Labels (Because You Know You Best)
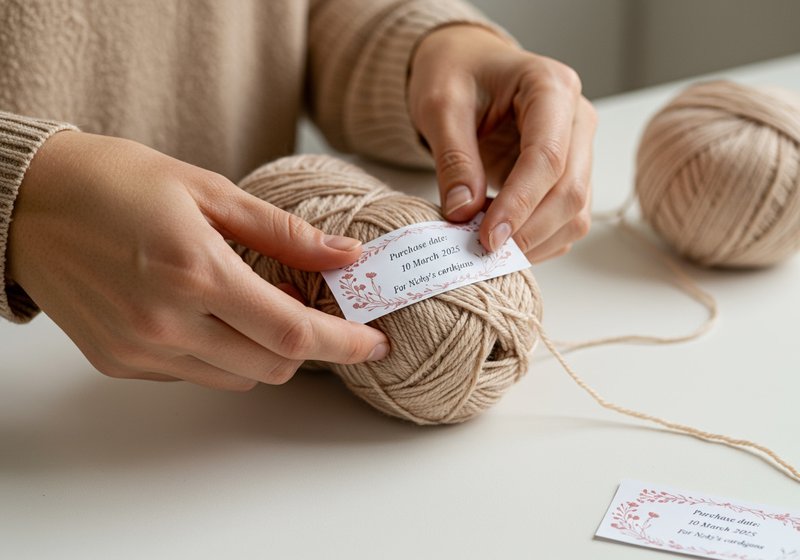
Commercial labels tell you what the yarn is. Personal labels capture your intentions for it.
This is where organising your yarn becomes personal rather than strict.
What You Might Add
- Purchase date
- Intended project
- Quantity owned, for example, “3 skeins total”
- Where the yarn is stored, which makes it easy to catalogue digitally and return the yarn to the right place if needed
- Notes like “soft but splits” or “great stitch definition”
A simple handwritten tag is often enough. Some people prefer index cards, while others use luggage tags, washi tape, or printable stash cards. You can download our FREE printable yarn labels (back-to-back) here.
The most important thing is consistency. Choose a method that works for you and stick with it, so your yarn’s details are always easy to find.
Step Four: Grouping Your Yarn So It Actually Makes Sense
Rather than keeping one large pile of “hand-dyed” yarn, sort your stash in ways that reflect how you like to work and plan projects.
Common Grouping Options
- By weight, such as sock, DK, or worsted,
- By fibre, for example, wool, silk blends, or alpaca
- By dyer or brand
- By colour family
- By project type, such as sweater quantities versus single skeins
If you knit garments, grouping yarn by quantity is especially helpful. It avoids the frustration of falling in love with a colour, only to discover you don’t quite have enough to complete a project.
This is also where your stash starts to function as a design tool rather than just a storage space. Thoughtful grouping makes it easier to compare yarns, plan future projects, and make use of what you already own.
If you’re building or refreshing your stash, browsing a well-curated yarn collection like ours at Thread Collective can help you see how fibres and weights sit alongside each other in real-world projects.
Step Five: Protecting Hand-dyed Yarn From the Elements

Hand-dyed yarn is more vulnerable than you might think. Colour can fade, fibres can weaken, and pests, unfortunately, have no respect for your favourite skein.
Light
- Avoid direct sunlight.
- Use opaque containers or UV-filtering glass.
- Rotate displayed yarn occasionally.
Pests
- Use sealed containers.
- Add natural deterrents, such as cedar or lavender.
- Avoid mothballs (they can damage fibres and smell awful).
Humidity
- Keep yarn dry and well-ventilated.
- Avoid basements or damp cupboards.
- Silica gel packets can help in closed boxes.
Good storage isn’t about being overly cautious. It’s about having peace of mind.
Step Six: Digital Stash Tracking (Optional, Not Mandatory)
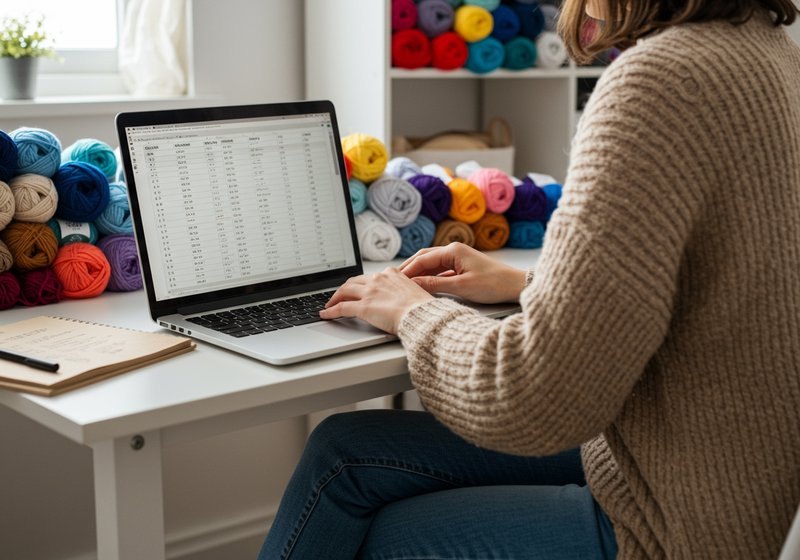
Not everyone wants a spreadsheet, and that’s perfectly fine. Even so, a simple digital record can be incredibly helpful, especially for hand-dyed yarns that may be difficult or impossible to replace.
Low-effort Options
- Notes app on your phone
- A digital or printed photo album titled “Yarn stash”, with each photo labelled with key details such as where the yarn is stored. Including a photo of the label can also be helpful.
- A simple list with the brand, weight, and quantity
More Structured Options
- Spreadsheet
- Dedicated stash apps
You don’t have to track every detail. Even a simple overview can help you avoid buying duplicates and shop with purpose. Download your FREE Yarn Stash Tracker here.
Step Seven: Storing Works-in-Progress Without Chaos
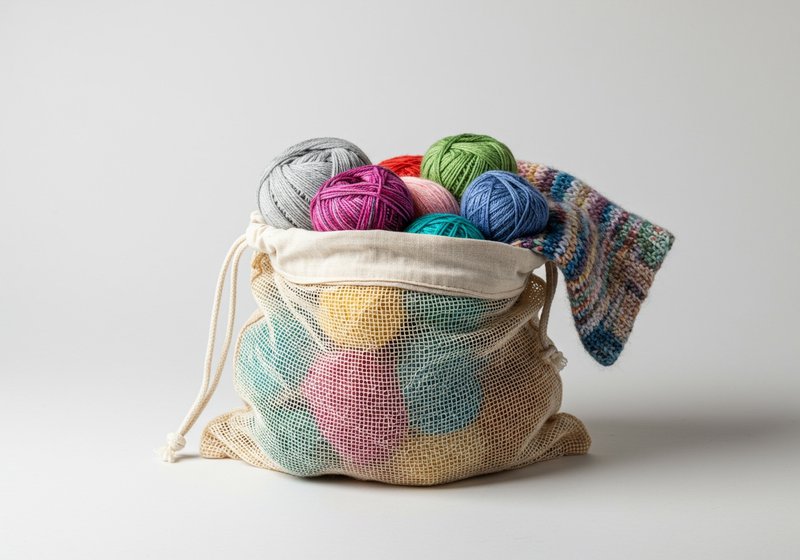
Hand-dyed yarn often becomes a project… and then pauses mid-project. WIPs deserve their own system so yarn doesn’t wander off and lose its context.
Helpful Tips
- Store each WIP in its own project bag.
- Keep all the yarn for that project together.
- Add a note with the needle or hook size and pattern name, and don’t forget to note which section of the pattern you’re working on.
- Keep the yarn label with the project.
That way, when you return to your project weeks or even months later, you won’t have to figure out what’s what.
A Gentle Reminder: Your Stash Is Allowed to Be Joyful

Not every skein needs to be carefully organised. Some yarns are allowed to exist simply because they make you happy.
Organising your yarn isn’t about perfection. It’s about making things easier, so your creativity has more room to flow.
If your system helps you:
• find what you need
• remember what you own
• feel calm rather than guilty
Then it’s doing its job.
And if your stash occasionally morphs into a colourful mess, that’s just part of being a maker.
Where to Go Next
If you’re feeling inspired to rethink your storage setup, shelves, boxes, baskets, and all, you might enjoy one of our earlier articles, Creative Yarn Storage Ideas to Keep Your Space Organised. It’s full of practical ideas and gentle encouragement to help you make your space work for you!
At the end of the day, the goal isn’t just a tidy stash. It’s about having more time, more ease, and more joy with the yarns you love.
Share this article on your favorite platform:
Table of Contents
- Why Hand-dyed Yarn Needs a Little Extra Care
- Step One: Decide How You Like to See Your Yarn
- Step Two: The Golden Rule – Never Separate Yarn From Its Identity
- Step Three: Add Your Own Labels (Because You Know You Best)
- Step Four: Grouping Your Yarn So It Actually Makes Sense
- Step Five: Protecting Hand-dyed Yarn From the Elements
- Step Six: Digital Stash Tracking (Optional, Not Mandatory)
- Step Seven: Storing Works-in-Progress Without Chaos
- A Gentle Reminder: Your Stash Is Allowed to Be Joyful

1 comment
Very good idea. Ive got heaps of homespun skeins in boxes, usually it doesn’t matter what it is if I just want to knit a one skein neck warmer but its when there’s a few the same OR are they actually the same – who knows. With a label I would know who belongs to who.